How To Make an Origami Shark
January 27, 2022
This Week’s:
Historical Fact — Since paper used to be scarce and expensive, origami was first commonly used only in ceremonies or religious rituals. However, it has other (albeit rare) uses from around that time period, including Tsutsumi, folded paper gift wrappings used in some ceremonies to symbolize purity and sincerity, Tsuki, folded pieces of paper given with a valuable gift, and the pieces of paper that Japanese monks folded for religious purposes (Hinders).
Fun Fact — Origami’s name quite literally comes from what it is: folded (ori) and paper (kami). Before that, it was called orikata, or folded shapes (Printworks).
Featured Origamist — Samuel Randlett. Randlett, together with Robin Harbin, developed the Yoshizawa-Randlett system, which was a modern system for diagramming origami folds proposed by Akira Yoshizawa. This system, which names different folds, is still used today, and is why origami instructions can be easily deciphered when basic fold names are known, and even if they aren’t (Rendlett).
Featured Work- ”Rabbits in Motion”, designed by Ronald Koh and folded by Ng Boon Choon. This piece was made for an exhibit called “Surface to Structure: Folded Forms,” and a photo of it can be found on The Salt Lake Tribune.
Tip — Slow down, be patient, and take as much time as is needed – models usually take longer than one might think to complete (Tips For Folding…).
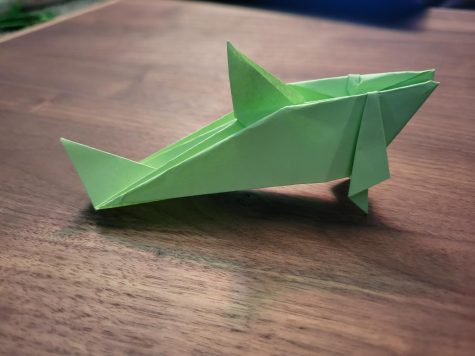
For this week, a shark has been chosen. Do not be fooled, though — this figure looks simple, but actually takes quite a lot of time and skill. Origami paper is recommended, and can be found on places like Amazon or in some stores, but can also easily be made from regular paper with just scissors. Also, (if available) a bit longer piece of paper rather than the perfect square type of paper is recommended for this project. Remember — mistakes are another learning opportunity, and starting over is always an option. If this model is too frustrating, consider making something more simple. Good luck and happy folding!
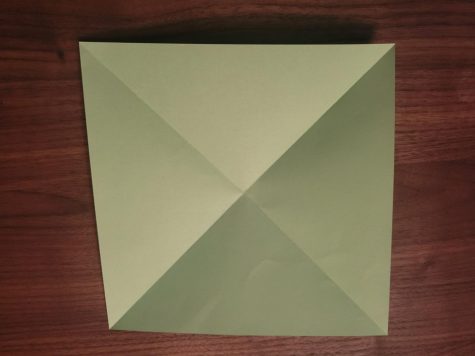
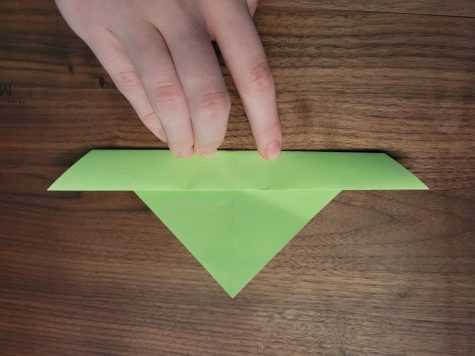
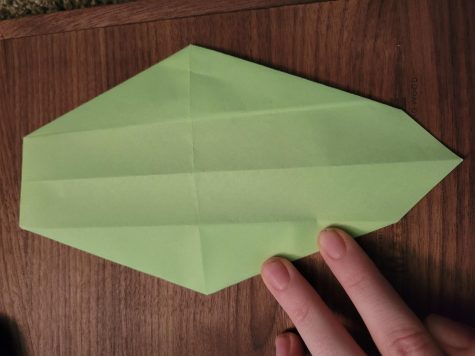
The first step will be two simple diagonal folds. The second fold should be left folded in half, for the next step.
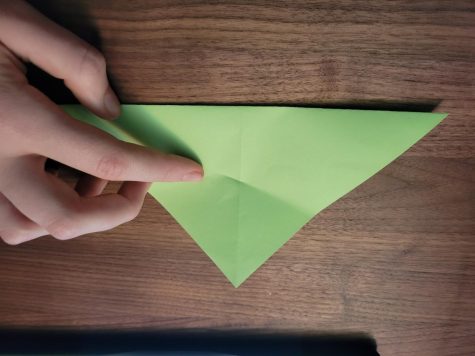
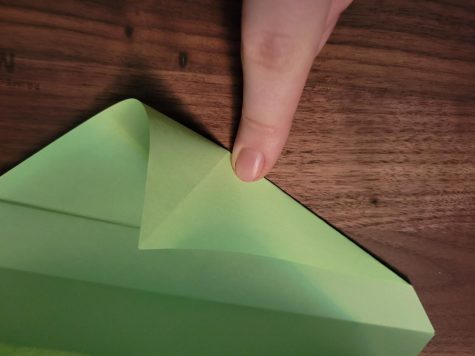
Next, take one corner of the paper and bring it to the edge of the triangular paper. Find the faint line and crease about the length of a finger under it. Then unfold and turn until the longest side is on the bottom.
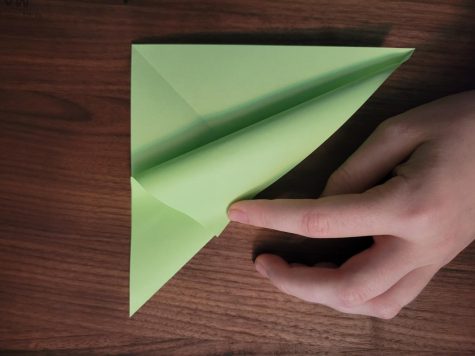
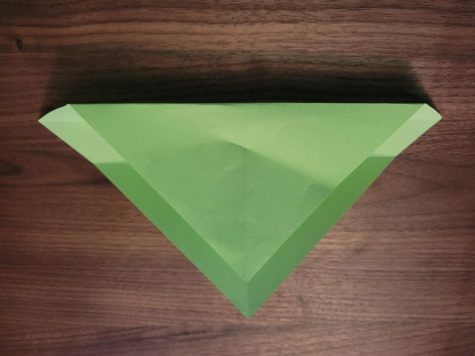
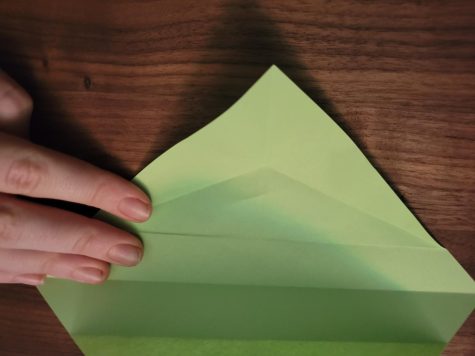
Proceed to take the bottom up to the line and crease, so that it looks almost like a paper hat.
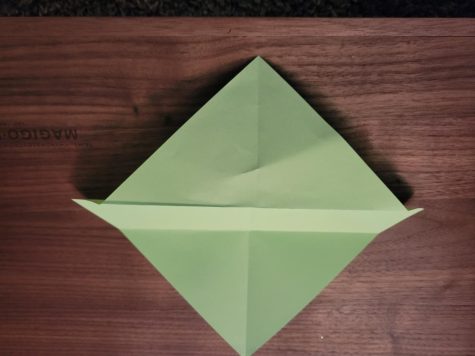
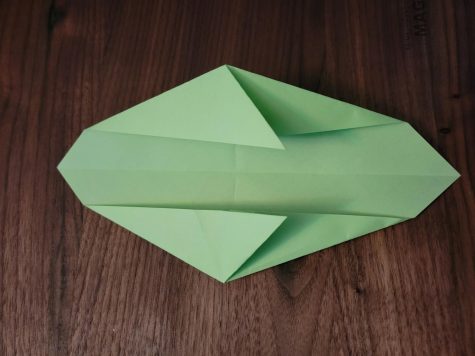
Then unfold both what was just done and the paper completely, until it is a diamond once again. Next, take the large corner flap facing down and crease it in the same place, but so it is facing up instead of down.
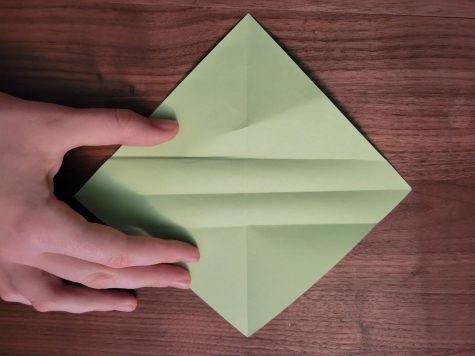
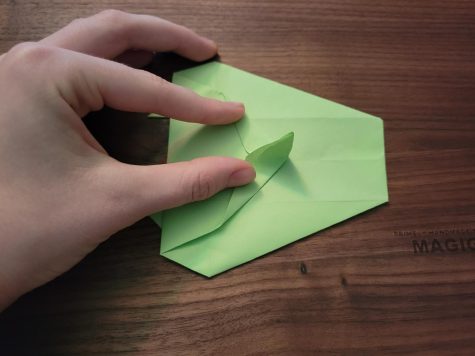
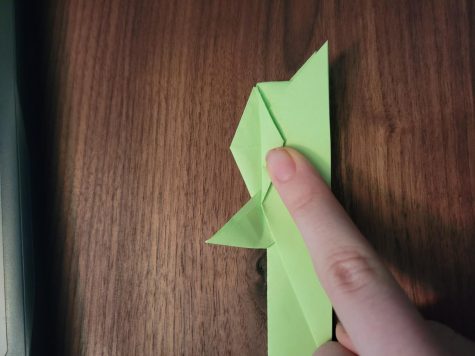
At this point, there should be three creases. One in the middle, and one above and below it. These ones above and below it are the ones that will be used. First, take the corner and bring it to the closest crease. Then crease it. Next, fold it in the same way, but this time to the side it was not before (up to the right or down to the left) on the same flap. Proceed to take both flaps, one in each hand, and push them down at the same time. The flap in the middle should go out, not in. Pinch the newly-formed fin together and fold to a side.

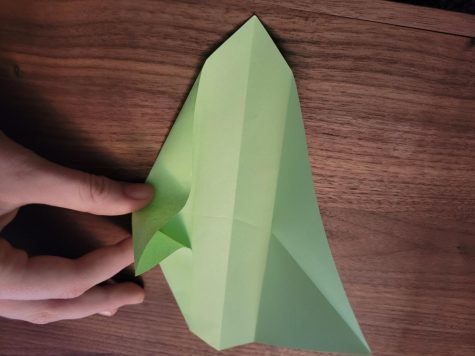

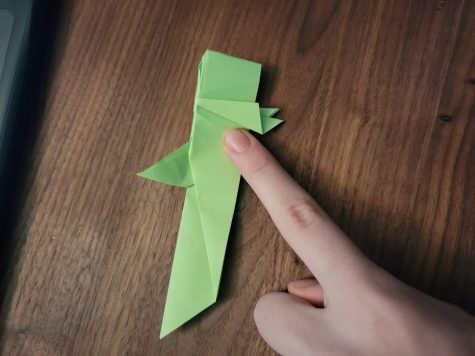
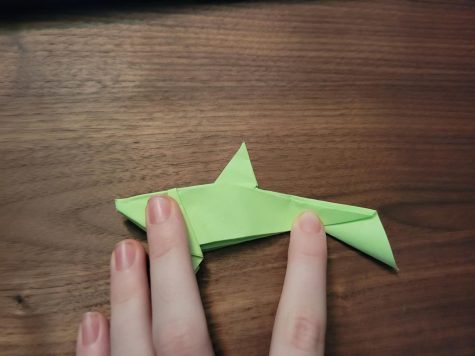
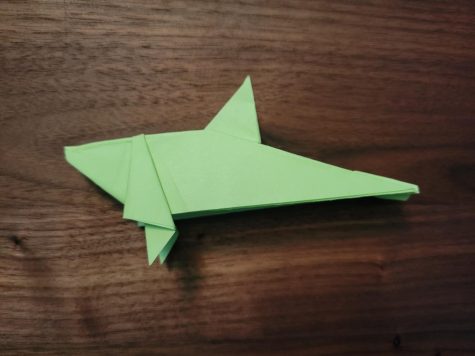
Repeat this process with the other flap, until it looks like the photo displayed below.
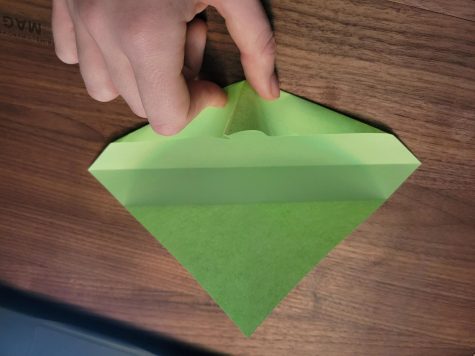
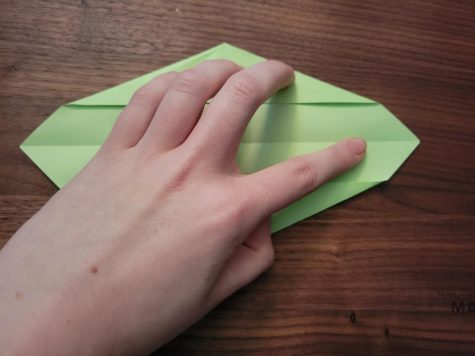
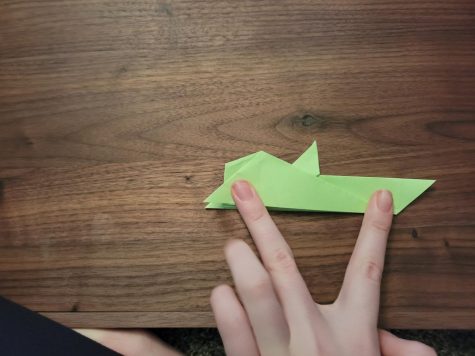
Then turn the paper until it is long instead of tall, sideways. The fins should be pointing left. On both the right and left, there should be a point. Fold that down until the top of the other folds, but only on the right side. Leave the left one as is with the point.

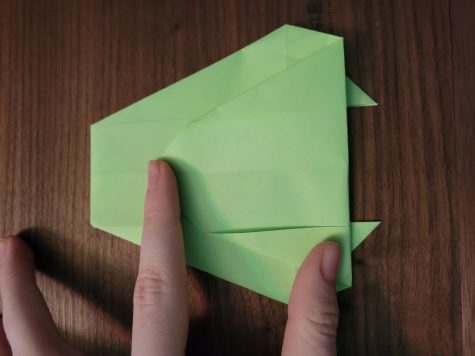
Next, flip the whole thing over. Proceed to take the bottom and fold it towards the top until a slight amount of the fins, just the tips, are visible. If they are not visible, turn it back over and switch the fins to the other side. After they are visible, crease the bottom.
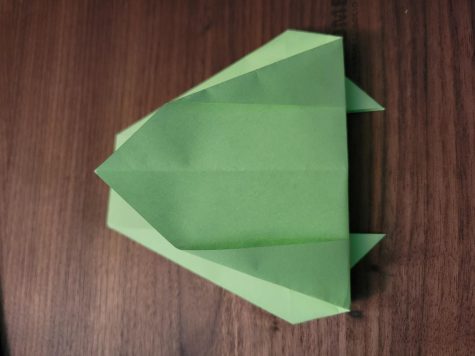
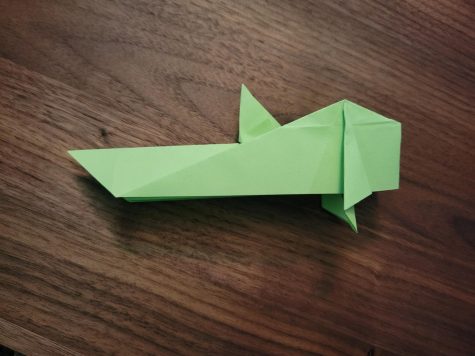
Next, turn the paper until the tiny fins are on the left side. Then take the point and fold it down the same way as was done earlier. Proceed to unfold it, and then bring the point up and fold it on the edges like on the fins before. Press down the tabs until a standing fin is left.


Notice the crease going through the center. Fold in half on that line so that the upright fin is on top.
There is also a line going through the middle horizontally on both sides of the shark. Using that line, fold it in half again. It should be pretty compact by now.
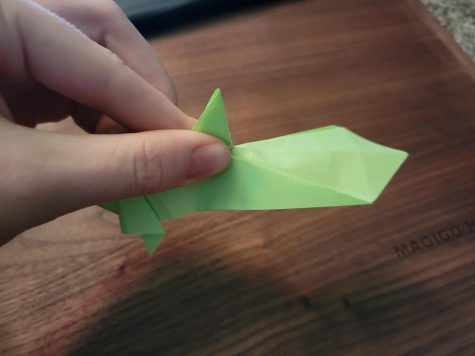
Above the middle fin there is a spot where there is a small triangle. Fold that down on both sides. Then unfold.
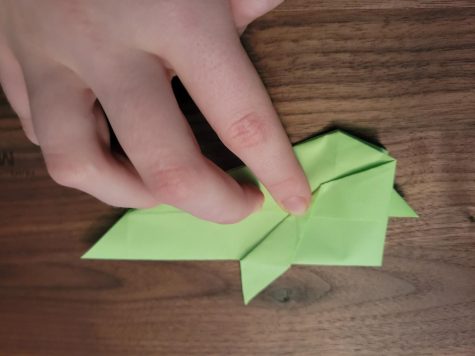
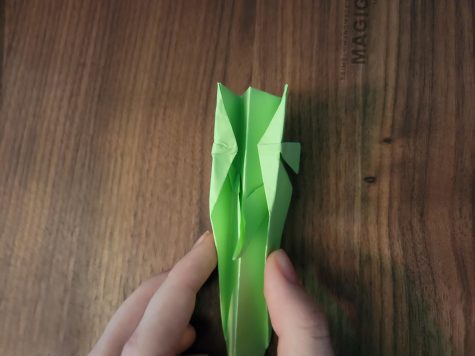
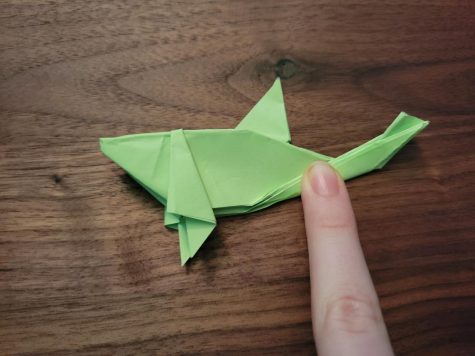
Next, divide the fins into 3 equal parts. Fold along one of the imaginary lines, and then again, so it looks like the fins below.
Next, fold the flaps created earlier back. There should be a square head on the shark.
Then turn the paper so the underside is visible. Open up the underside into two congruent parts. Then take the edges on the top and fold them both into the center. Fold it back in half again after this.
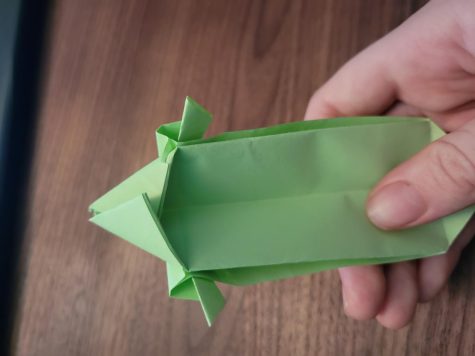
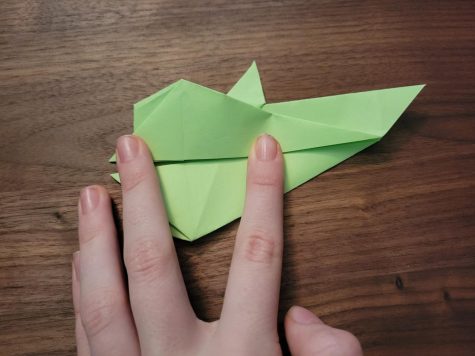
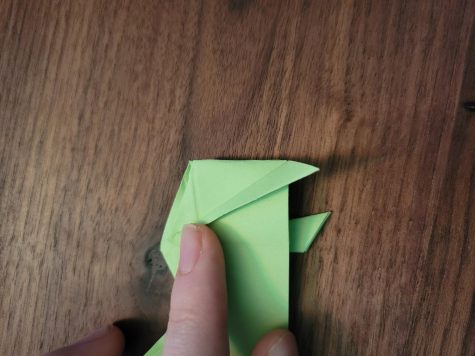
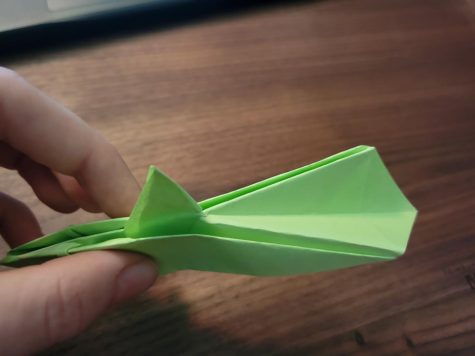
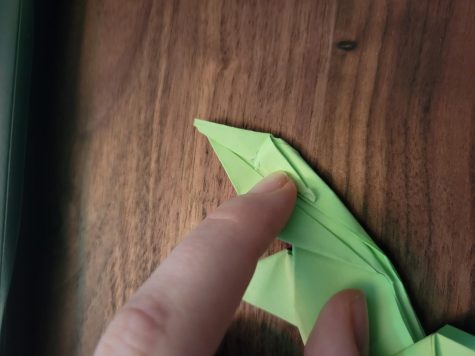
Now, the hard part: the tail. Start on the square in the back. There should be two folds and a middle part. Take the middle part and fold it down as far as possible, until it looks like what is pictured below.

Then unfold it, and, pinching right below/ on the fin, push the middle par down until it fans out, flat. Proceed to push the middle part down and crease it.
Now flip the shark upside down, pinch right where the triangle is, and flatten it like before. Then push it up, so the triangle sticks up again and not down.

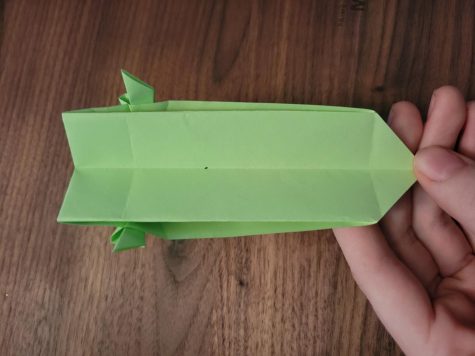
Fold the middle part in and flatten, until only a (relatively) pointed tail is left.
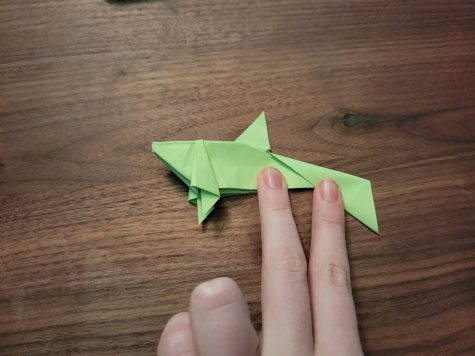
Pick a spot close to a fin, then, and fold it up. Proceed to take the flap most to the left and fold it again, so that the shark ends up with this diamond shape on the tail.

There is a flap that should then be able to be pulled down. Fold it perpendicular, and then fold the second flap, closest to the shark, down on it. And, finally, what should be left is a full, completed shark.
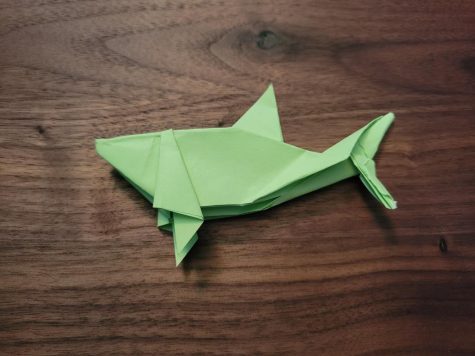
I hope that today’s tutorial was enjoyable, and that success is found in any future origami endeavors. Tune in for the next tutorial to find out how to make an origami goat.
Today’s tutorial was originally made on Youtube, by Easy Origami – Yakomoga on December 29, 2015. Click here for the original video, or here for a revised version also used.