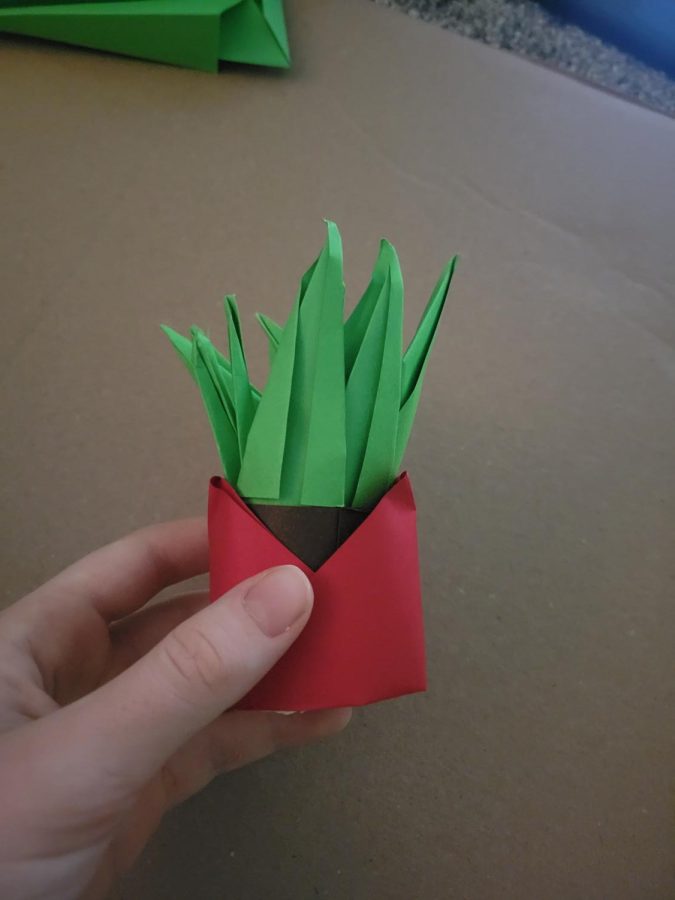
How To Origami — Mini Succulent Edition
April 11, 2022
This Week’s:
Historical Fact — Japan was not the only one to develop paper folding as an art — Europe, after it received paper in the 11th or 12th century, developed its own way of folding independently, which used more geometric folds than Japanese origami did at the time (All About Japan).
Fun Fact — Scientists from the Georgia Institute of Technology were able to create electrical energy by only folding and unfolding origami, using the concept of static electricity to make this feat possible (Domestika).
Featured Origamist — Humiaki Huzita was a Japanese-born mathematician and origami artist most well known for formulating the first six Huzita–Hatori axioms, which are rules associated with origami, the mathematics behind it, and the operations that form when folding a paper. He first lived in Japan before becoming an Italian citizen, making it so he spoke English, Japanese, and Italian proficiently. On top of that, he was also known for his studies in nuclear physics and bringing origami artists from all around the world together (Humiaki Huzita).
Featured Works- A series aptly called “Moscow Cathedrals” made by Sergei Tarasov with 10,000+ pieces of paper. Images of these pieces can be found on this website.
Tip — The first time a design is tried, it is best to try it with a larger sheet to paper to get the design down before trying it in a smaller version (Tips for Folding…).
Succulents are a beloved plant for many reasons — their medical uses (aloe vera), their easy to take care of nature, but, most of all, their ability to spruce up a dull room. And, on top of that, they are great plants to make with just paper. Their wide variety of colors, recognizable shapes, and relatively simple composition easily lend them to be one of the best plants that can be made into origami — perfect for anyone with even the blackest of thumbs.
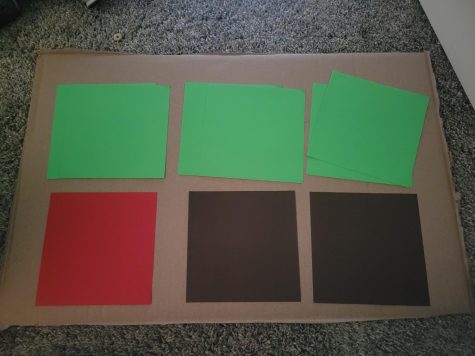
For this mini succulent, origami paper and scissors were used; origami paper is recommended, and can be found on places like Amazon or in some stores, but can also easily be made from regular paper with just scissors, if none is available. Since this is a mini succulent, smaller paper looks significantly better in the end, so paper cut into fourths or smaller origami paper is recommended. If you are interested in the series, make sure to check out either the first installment or this latest one.
The Succulent Leaves
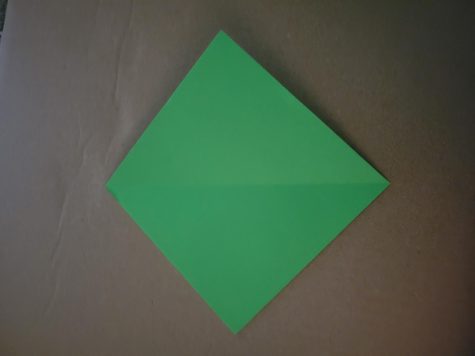
First, start with either a smaller sheet of paper or origami paper cut into fourths. Then turn the paper so it looks like a diamond
For the first fold, fold it in half, so that the diamond turns into a triangle. After that is finished, unfold the paper
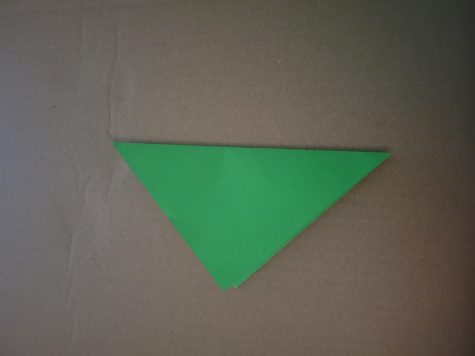
Then fold the corners into the middle until it looks like the photo below
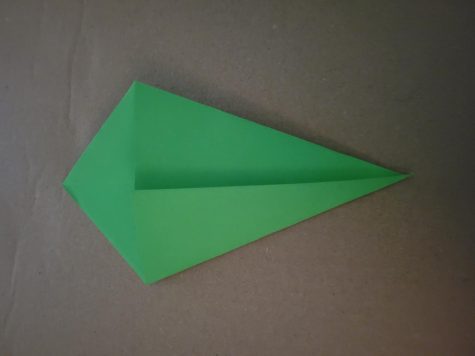
Proceed to flip the whole thing over and repeat the previous step
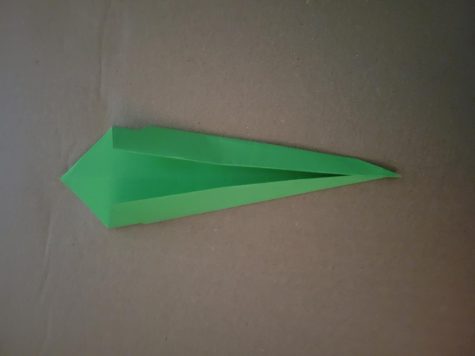
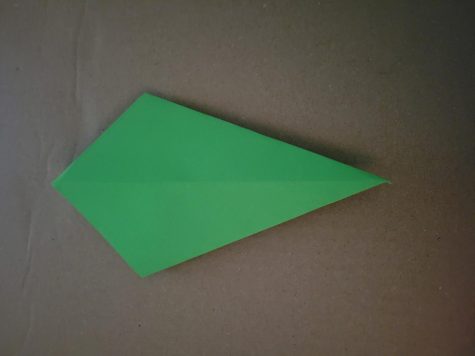
Turn the whole thing around so the small triangle is on the bottom
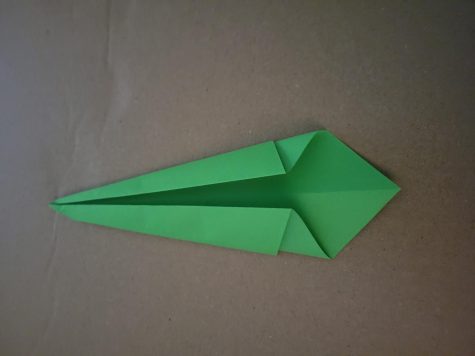
Proceed to then fold the triangle up and then unfold it
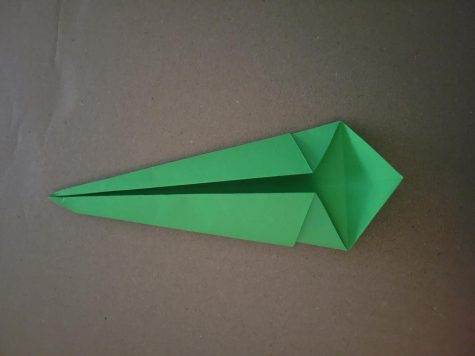
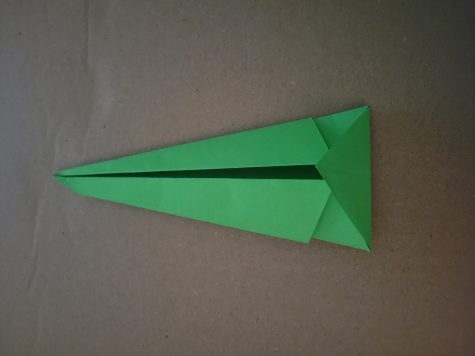
Then fold the very tip of the corner up to the line just created and fold it up again
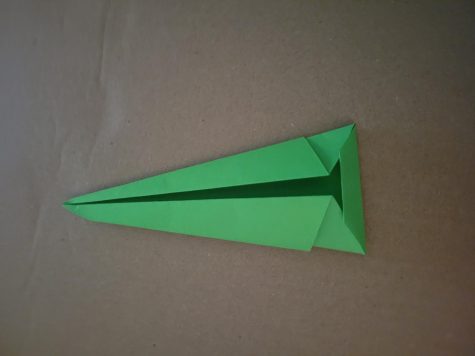
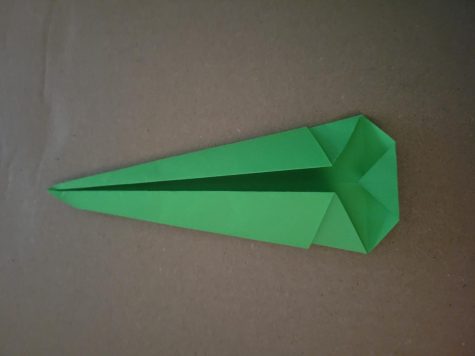
Repeats steps 1-7 several times until a sufficient amount of leaves are made
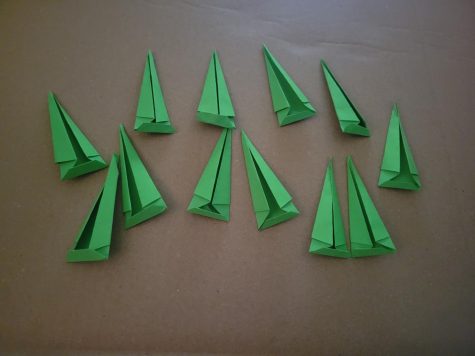
Fold the leaves into each other as shown in the photos below until there is a long chain of them
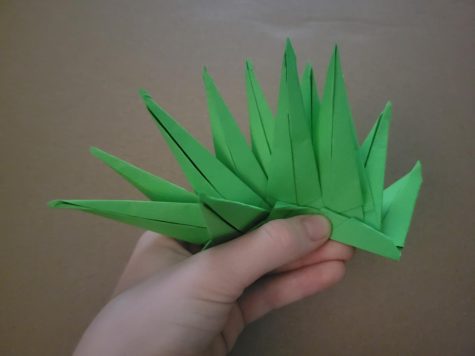
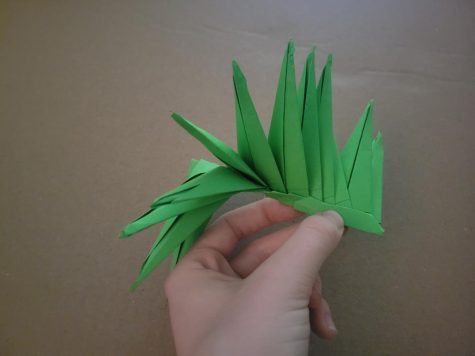
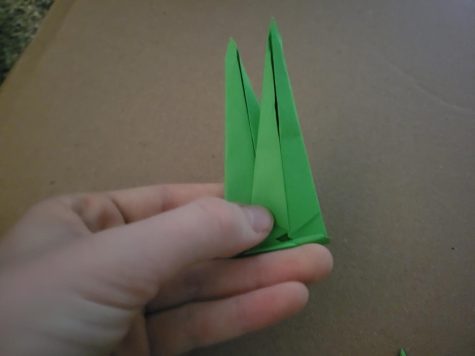
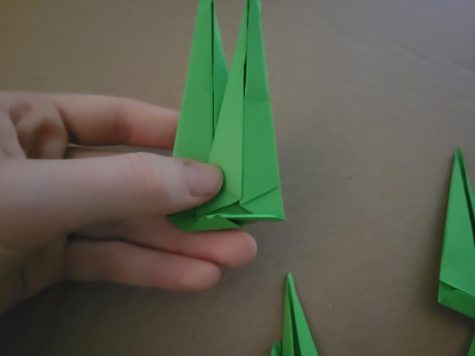
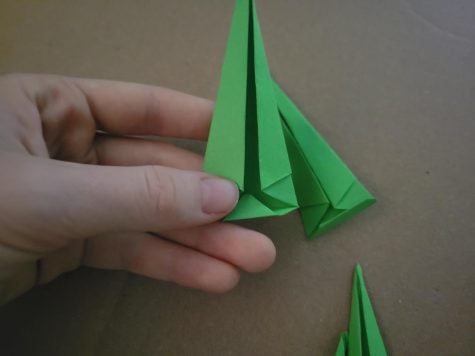
Finally, fold the chain until it is in a tight circle and either tape or rubber band the ends
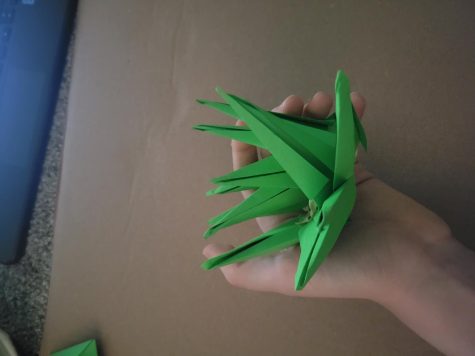
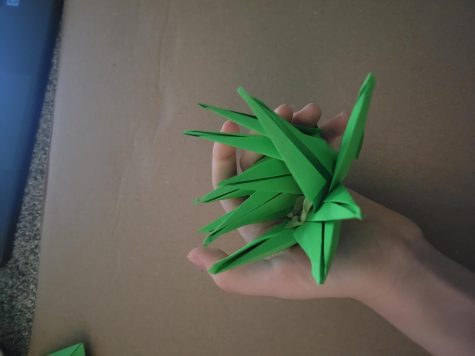
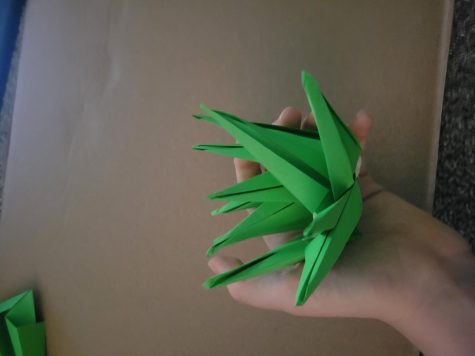
The Soil
Next, take 2 sheets of whatever color the soil should be and cut into strips (not too small)
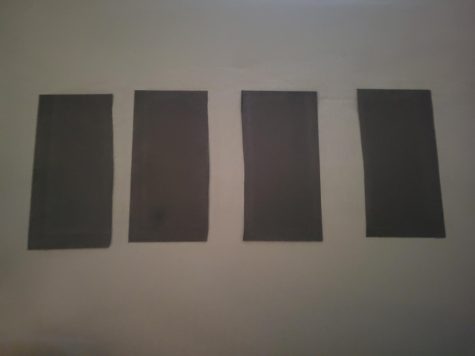
Tape them together and onto the succulent leaves in whichever configuration looks best
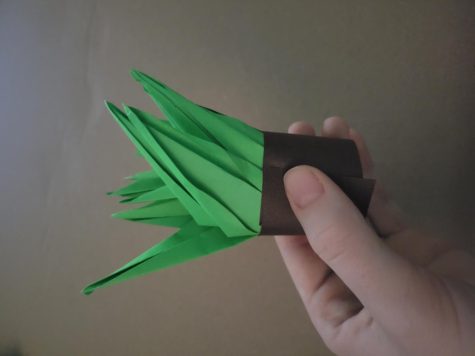
The Pot
And, for the final component of the origami succulent, the pot. For the first step, take the paper chosen for the pot and fold it in half vertically and horizontally
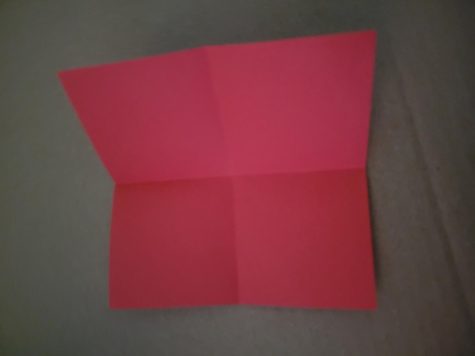
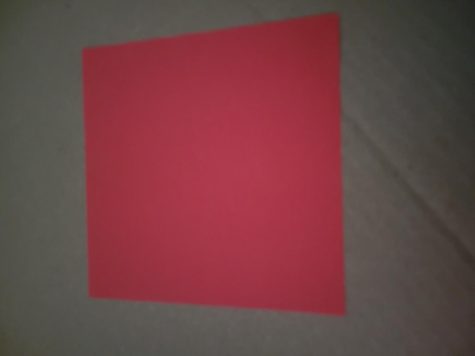
Than fold along both diagonals, so it looks like an asterisk (*) symbols when unfolded
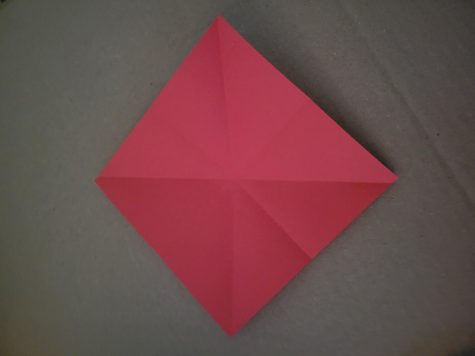
Next, fold it in half again so that it looks like a triangle. Than take the tip of the triangle and fold it down to the bottom
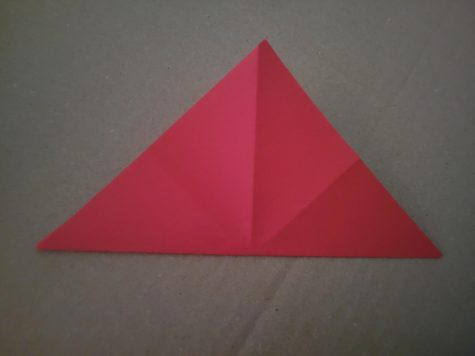
Next, curve the sides towards each other and put one of the slanted ends in the middle of the other end
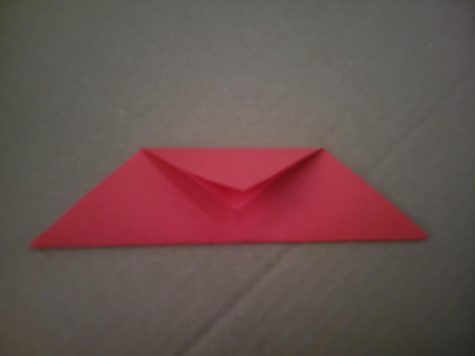
And, finally, assemble all the parts and tape as needed
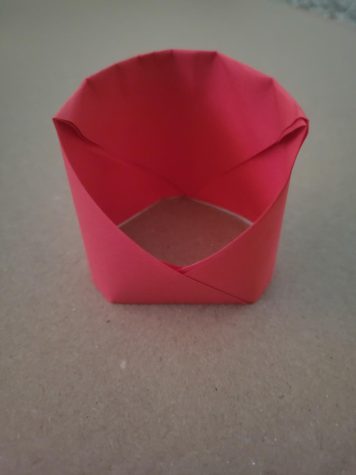
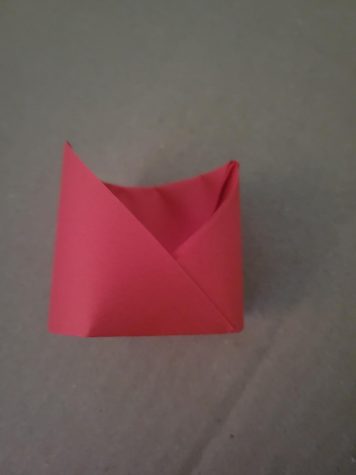
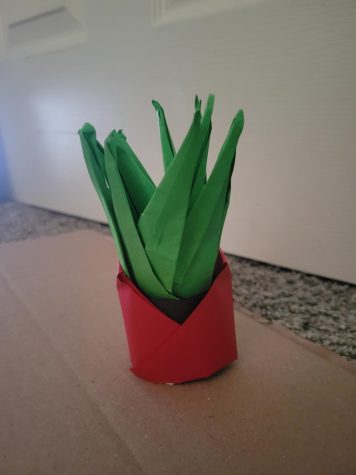
And then it is done. I hope that today’s tutorial was enjoyable, and for success in any future origami endeavors. Tune in for the next tutorial to find out how to make an origami velociraptor.
Today’s tutorial was originally made on Youtube, 2022 by Paper Kawaii – Origami Tutorials. Click here for the original video.

