How to Carve a Pumpkin
October 28, 2021

These are the steps on how to create a jack-o-lantern for halloween, or any other event this fall. First, it is a matter of choosing the perfect pumpkin. Typically the pumpkin should be a medium size and free of bumps or flattened sides. Supplies can vary on what is most comfortable for the artist, but usually all that is needed is a sharp kitchen knife, a large spoon, a non-permanent marker, paper towels/newspaper, and, of course, the pumpkin.
Now that all the supplies have been gathered, it is time to set up. Lay down the newspaper, (puppy pads are used in this example photo), keeping the paper towels on hand. Lay the pumpkin on the paper, and with the marker draw a circle outline around the stem. Then it is finally time to start cutting the top off.
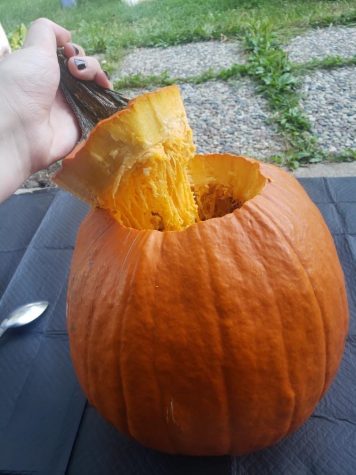
The first incision should be made in a circle on the top of the pumpkin. It is hard to make a circular cut in pumpkins, so it is recommended to take it slow and re-adjust the knife often. Once the cut has been made all the way around the stem, it can be grabbed and pulled out of the pumpkin.
At this point the “de-gutting” process starts. First, grab the stray guts with either the spoon or your hands and set them aside. If desired you can separate the seed from the mush. Now, take the spoon and start scraping the insides of the pumpkin. Once all the mushy guts are out, continue scraping the sides to make it as dry as possible, which will keep it from rotting too soon.

The pumpkin should now be relatively dry, and free of guts, so the designing may begin. Take the marker and experiment what face or design is preferred. A non-permanent marker is preferred, so you can wash off the outlines or mistakes. Remember that circular designs are much harder to accomplish than straight lines. Also, keep in mind the inside of the design created will be taken out, so try and stay simple.
Finally, with the knife, the pumpkin’s design can be cut out. Push from the inside to pop out the pieces that were cut. Clean up the pumpkin with a paper towel both on the inside and outside. Keeping the pumpkin dry is key.
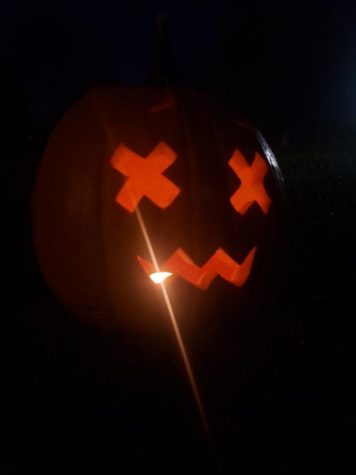
After the pumpkin is clean, it can be brought to the porch or wherever it is going to live. Either use a small candle and light it temporarily, or buy a small electronic candle that can safely stay on. Light it up and or turn it on and wait for night time to roll around to see the now jack-o-lantern at its peak.