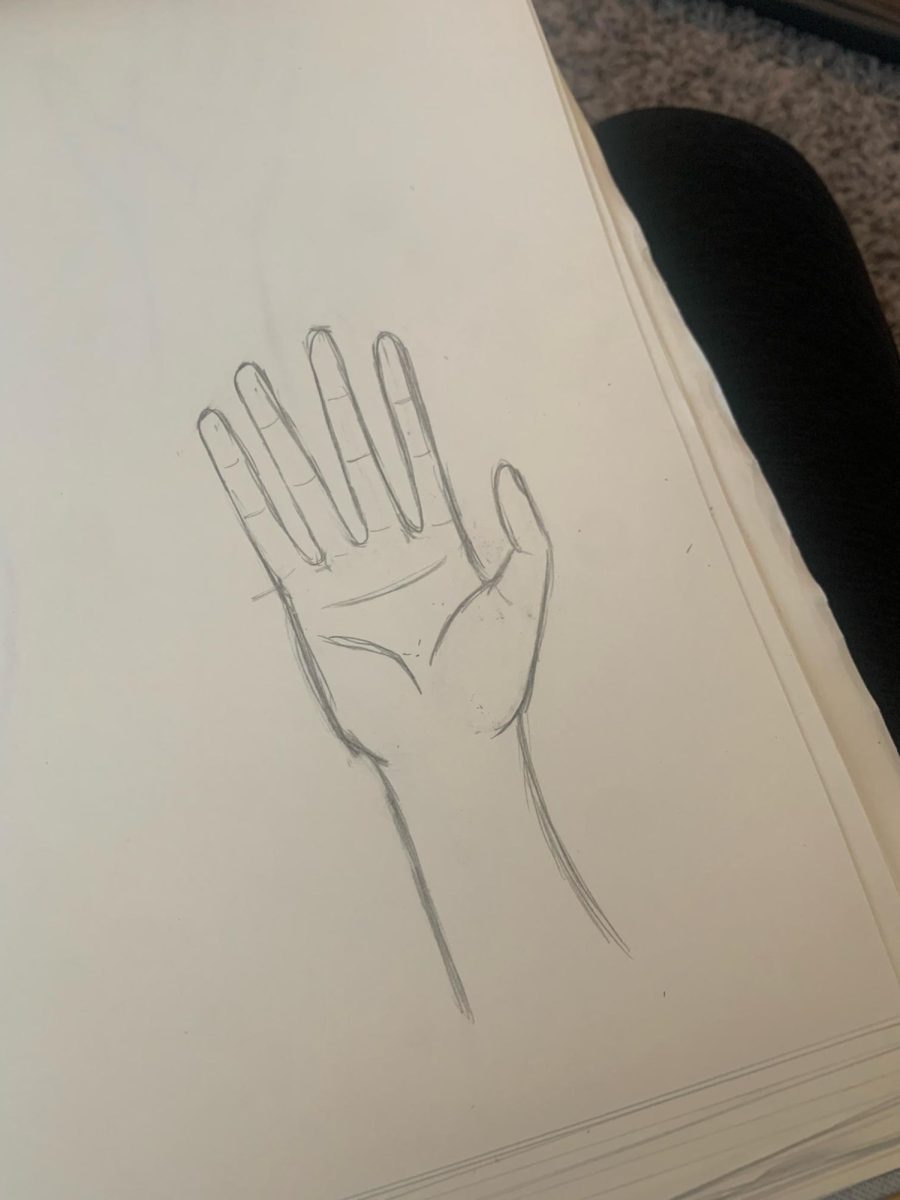
Drawing is fun and a great way to express oneself until an artist’s worst nightmare comes up: hands. Hands are filled with struggle. Getting them proportioned to not only themselves but to the subject, is a pain. Getting them in the right position is even worse. This is a simple tutorial to draw them and should help with sketches to come.
In art, there is no “perfect” piece, so it might take some practice and testing out different poses to make it look right, but well-drawn hands can be achieved. There is light at the end of the tunnel.
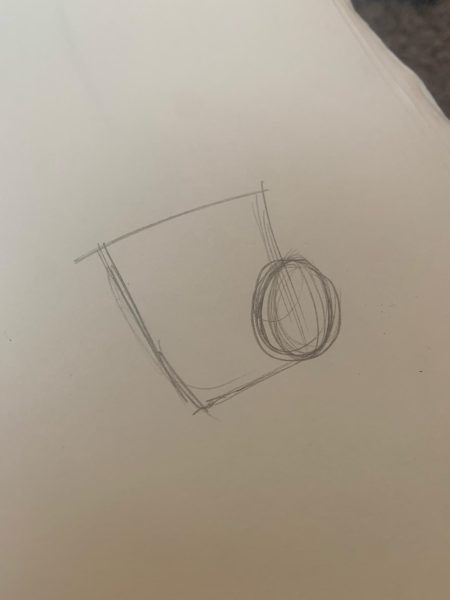
First, make a long trapezoid, as shown in the shape below. It should look close to a square; the shape’s widening is subtle. The smaller end will be where the hand ends and the wrist begins. To imitate where the thumb muscle is, draw a circle on the side the thumb should be facing.
Next, create four equal circles in the top line. Make sure to spread them out. This will show the width. Draw a line in each circle, one for each finger. This will act as an imaginary line in the middle of the finger and will guide the outline for them. For the thumb, create another line. The curved line should help with deciding the height of the fingers. I usually eyeball how tall or long the fingers are. Looking at actual hands helps see how tall fingers usually are in comparison to one another
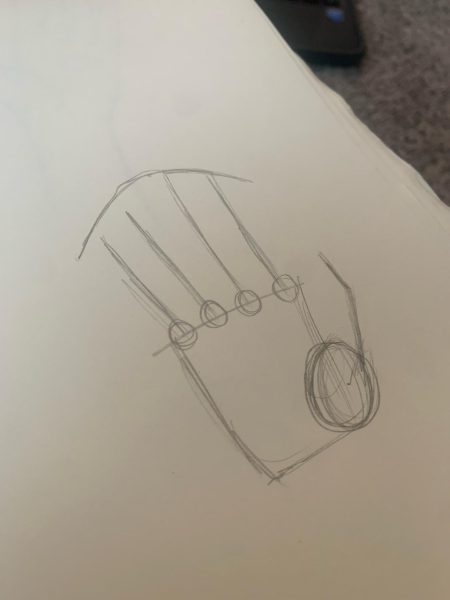
Next are the outlines of the fingers themselves. Make sure to not make the fingers sharp; they need to be curved softly. If the finger is sideways, then the tip of the finger should be curved a bit more than the rest of the finger. The thumb in the photo is a good example.
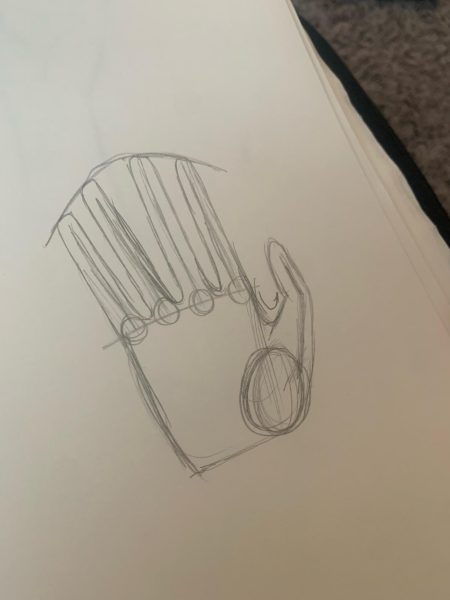
Now, for the easy part: erasing. All of the lines in the middle of the fingers should be erased.
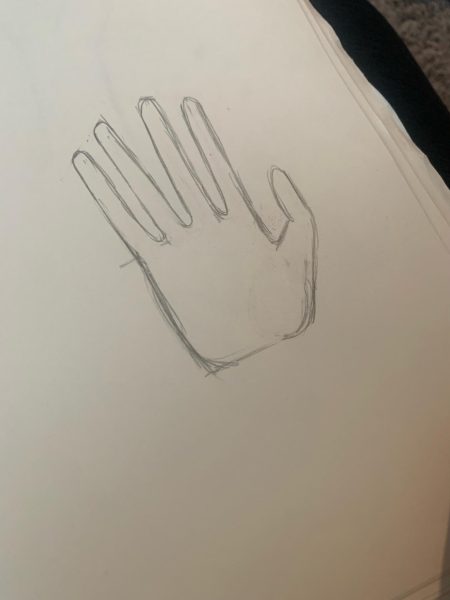
Finally, finish the drawing off by adding lines to indicate the thumb muscle, palm lines, and the muscle that leads into the pinky. Faint lines on the fingers show where they bend, which should make the finger into thirds, and add more realism.
